Players struggling to complete the Where the Wind Blows quest in Final Fantasy 7 Rebirth and repair the Windmill Settlement need worry no longer. Here’s what you need to know.
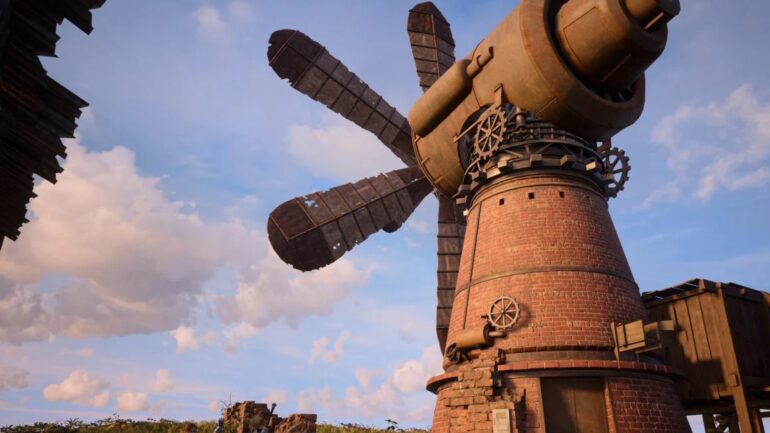
There are plenty of side quests that players can unlock in Chapter 2. One such side quest, Where the Wind Blows, requires them to repair a Windmill. While it seems like a relatively straightforward task, it can actually be quite tricky and involves taking on a challenging enemy and completing a number of side objectives. Below, we explain exactly how to complete the Where the Wind Blows quest in Final Fantasy 7 Rebirth and repair the Windmill Settlement.
How to Unlock Where the Wind Blows Side Quest in Final Fantasy 7 Rebirth
To unlock the Where the Wind Blows quest in Final Fantasy 7 Rebirth, you must first complete the Chocobo Ranch quest in Chapter 2 to unlock fast travel. Then, head back to Kalm and complete the Livestock’s Bane Odd Job from the job board. Once you’ve completed this, the Where the Wind Blows quest will appear on the job board.
It’s worth noting that you should be around level 18 in order to complete the Livestock’s Bane quest and then level 22 to complete Where the Wind Blows. Both are relatively challenging quests, especially Where the Wind Blows, as it requires you to fight a tough enemy.
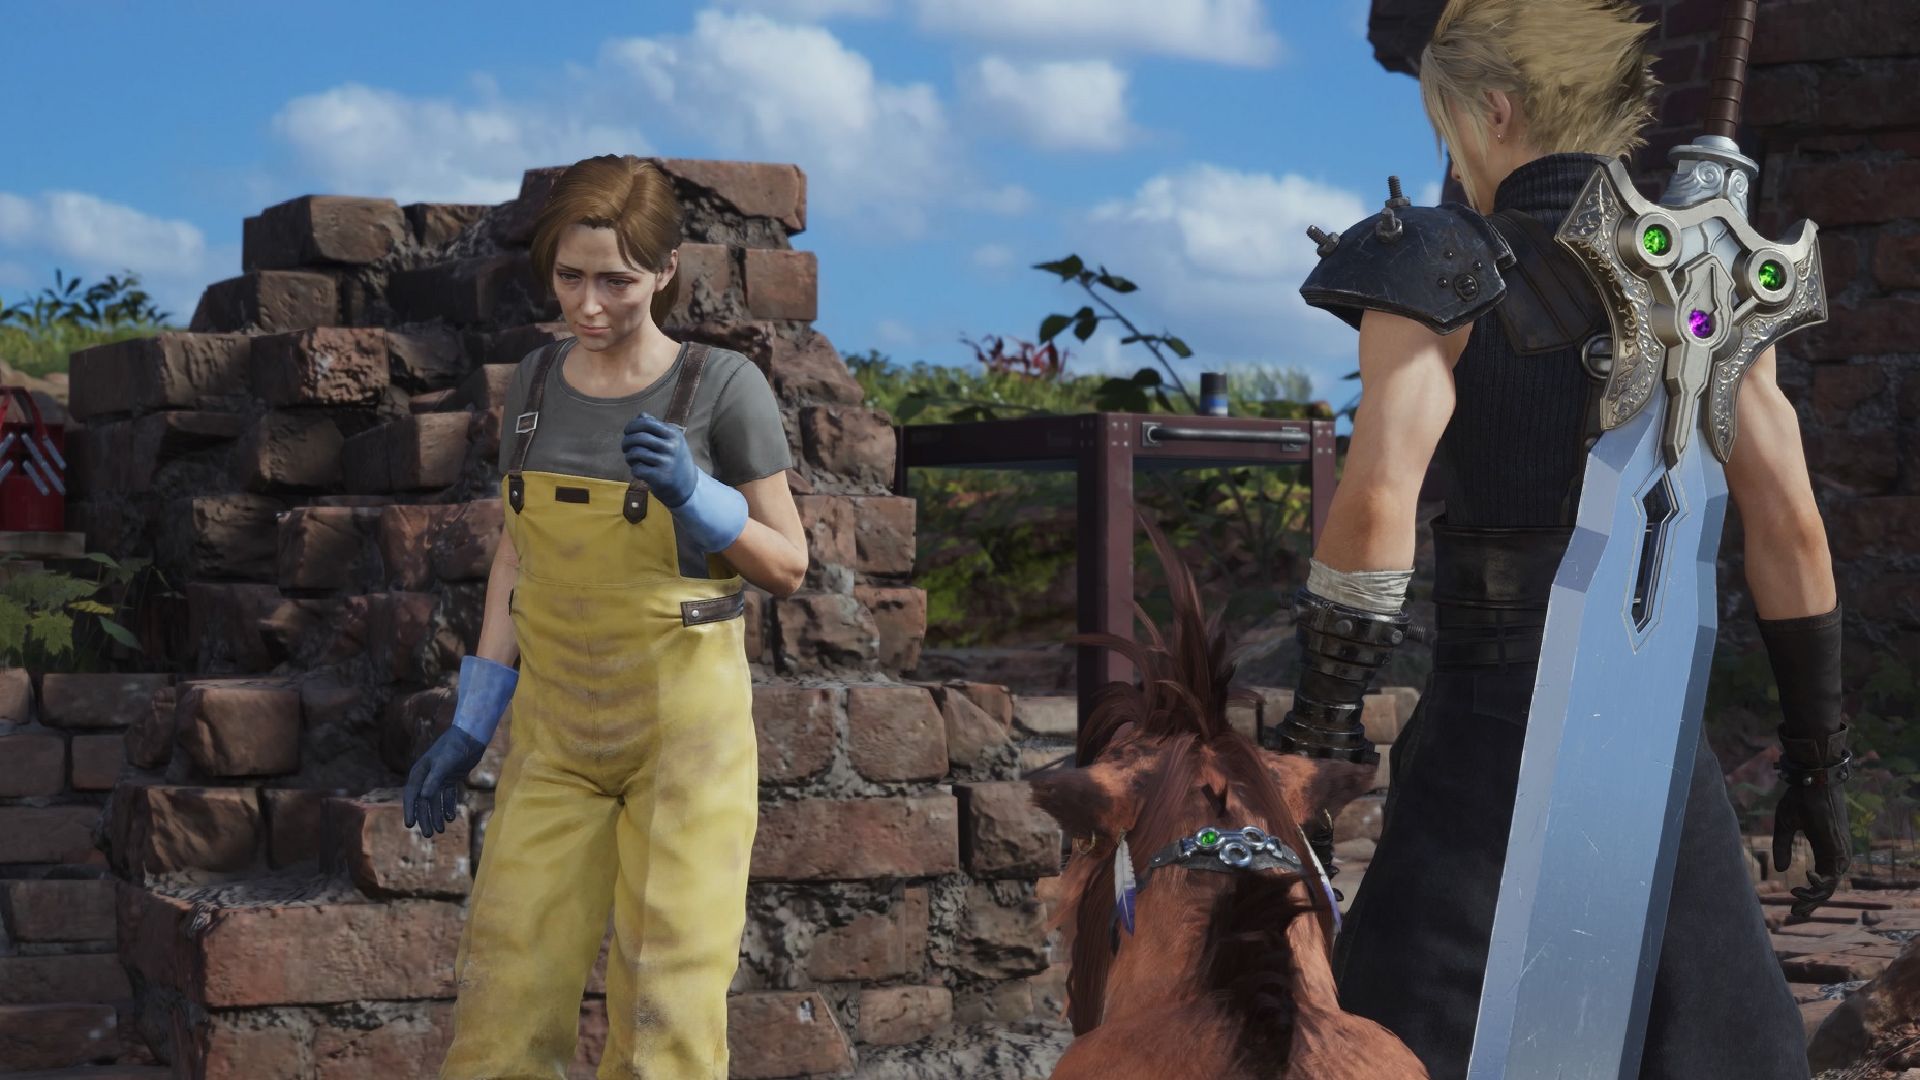
How to Repair the Windmill Settlement in Final Fantasy 7 Rebirth
To repair the windmill settlement in the Grasslands in Final Fantasy 7 Rebirth, you must talk to Mildred and then scan four Lifesprings in the Grasslands Region. Next, complete the Classified Intel: Wings of Lacertilian Yore quest by defeating Quetzalcoatl. Then, complete the Excavation Intel 1 quest at the Bygone Settlement, and finally craft the Windmill Gear using your Transmuter. It’s a relatively complex quest, but we’ve broken it down into easy steps for you below:
- Talk to Mildred after accepting the Where the Wind Blows quest in Kalm.
- Scan four Lifesprings in the Grasslands Region.
- You can find more in the region by completing World Intel towers.
- Completing this will unlock the Classified Intel: Wings of Lacertilian Yore combat assignment.
- Next, defeat Quetzalcoatl in the Classified Intel: Wings of Lacertilian Yore quest to get the Quetzalcoatl Talon.
- After scanning just three Lifesprings, you will have unlocked the Excavation Intel 1 quest. Head to the Bygone Settlement to start it.
- Use your Chocobo to dig up three items. One of these is the Transmuter Chip: Windmill Gear.
- Open your Transmuter and craft the Windmill Gear using the unlocked recipe.
- To craft it, you’ll need:
- Quetzalcoatl Talon
- Iron Ore (can be found in the Grasslands)
- Lea Titanium (can be found in the Grasslands)
- Beast Bone (can be found by defeating enemies in the Grasslands)
- To craft it, you’ll need:
- Return to Mildred to complete the quest and repair the windmill.

Once you’ve completed the quest, a Materia will be dropped from the Windmill. Make sure to grab it before leaving. That’s everything you need to know about repairing the Windmill in Final Fantasy 7 Rebirth. For more guides just like this one, be sure to check out our Guide Hub.


