


Killstreaks in Call of Duty: MW3 helps shift the balance of a multiplayer match, and we have selected the top choices.
Players must get a specific amount of kills or score without dying to earn a kill streak. They can then use them against the enemy team, either offensively or defensively, to gain the upper hand. Below, we have curated a list of the best options to use in the game.
Best Killstreaks in Call of Duty: MW3
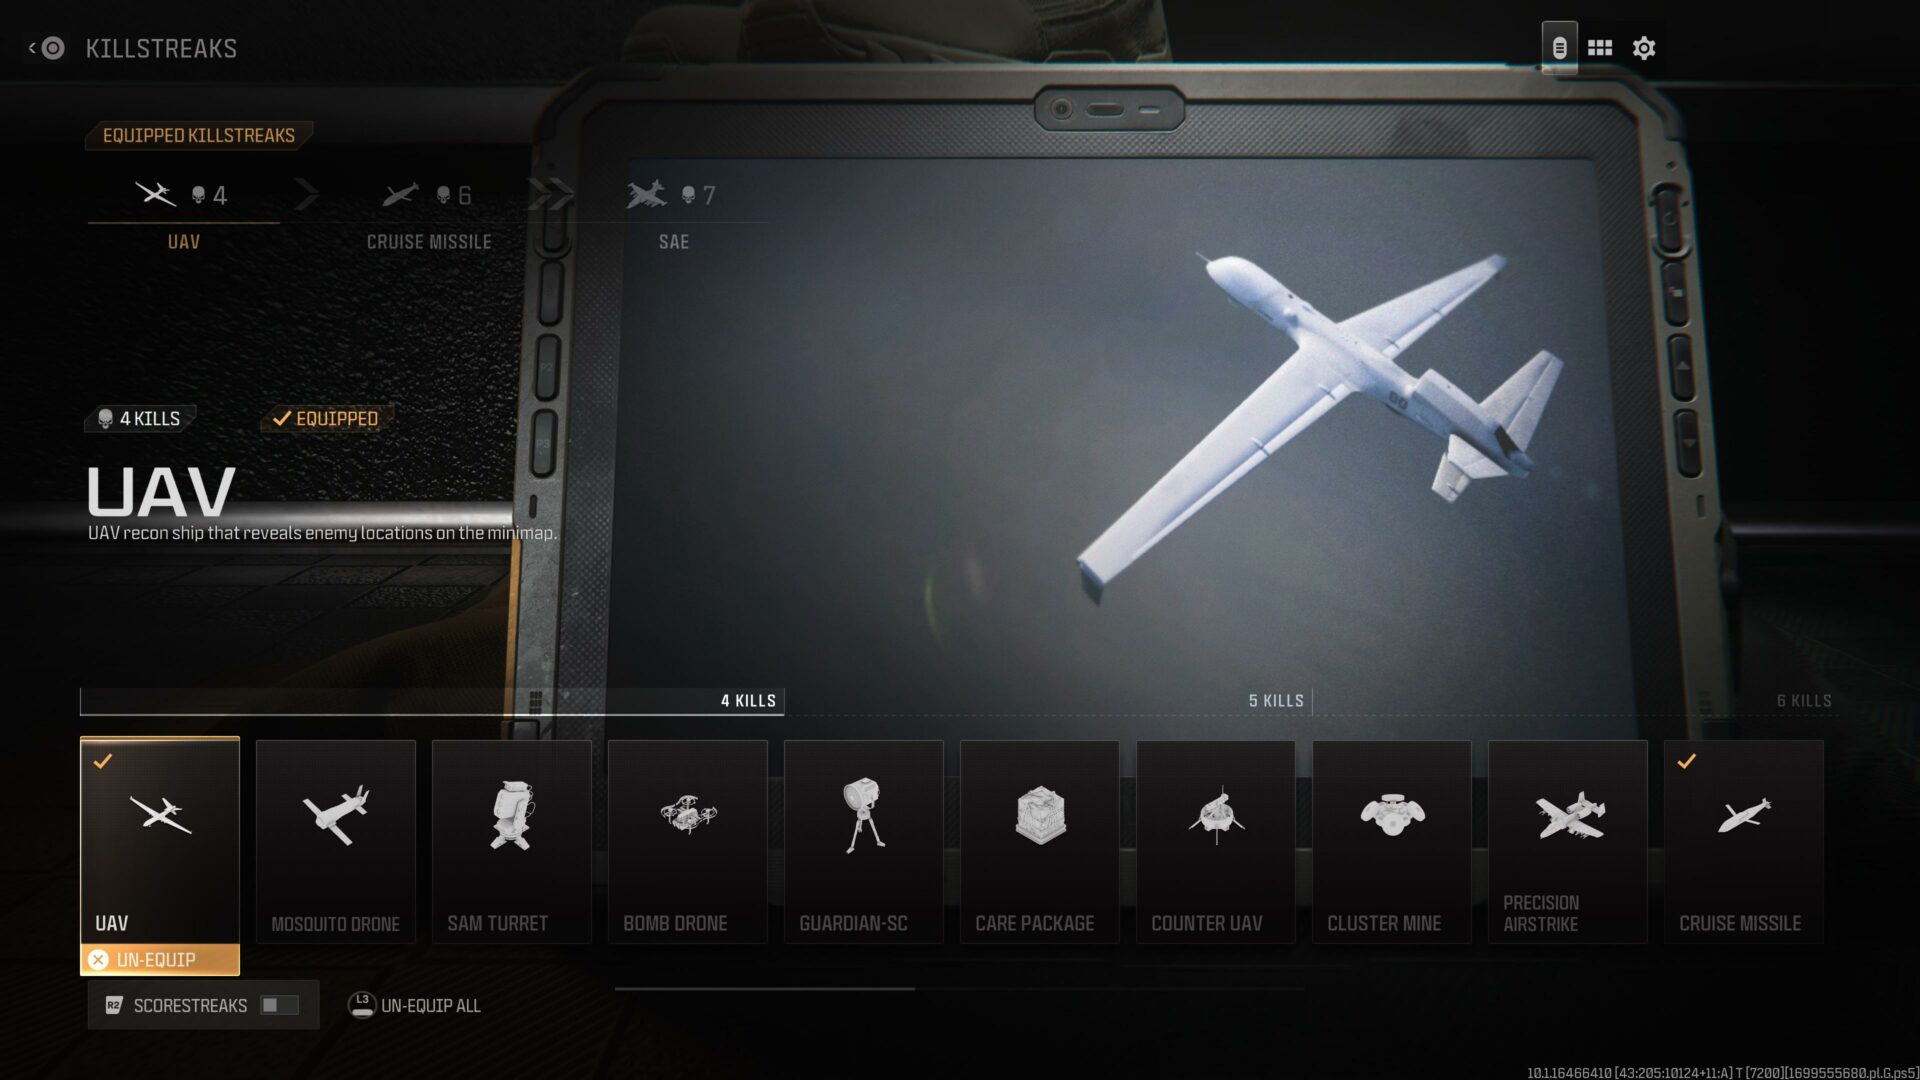
UAV – 4 Killstreak
The UAV killstreak, when activated, allows players to reveal the enemy team as red dots on the radar. Lasting for 30 seconds, the enemy locations are updated every few seconds. The UAV is a classic in the franchise and vital for any multiplayer mode, especially team-based.
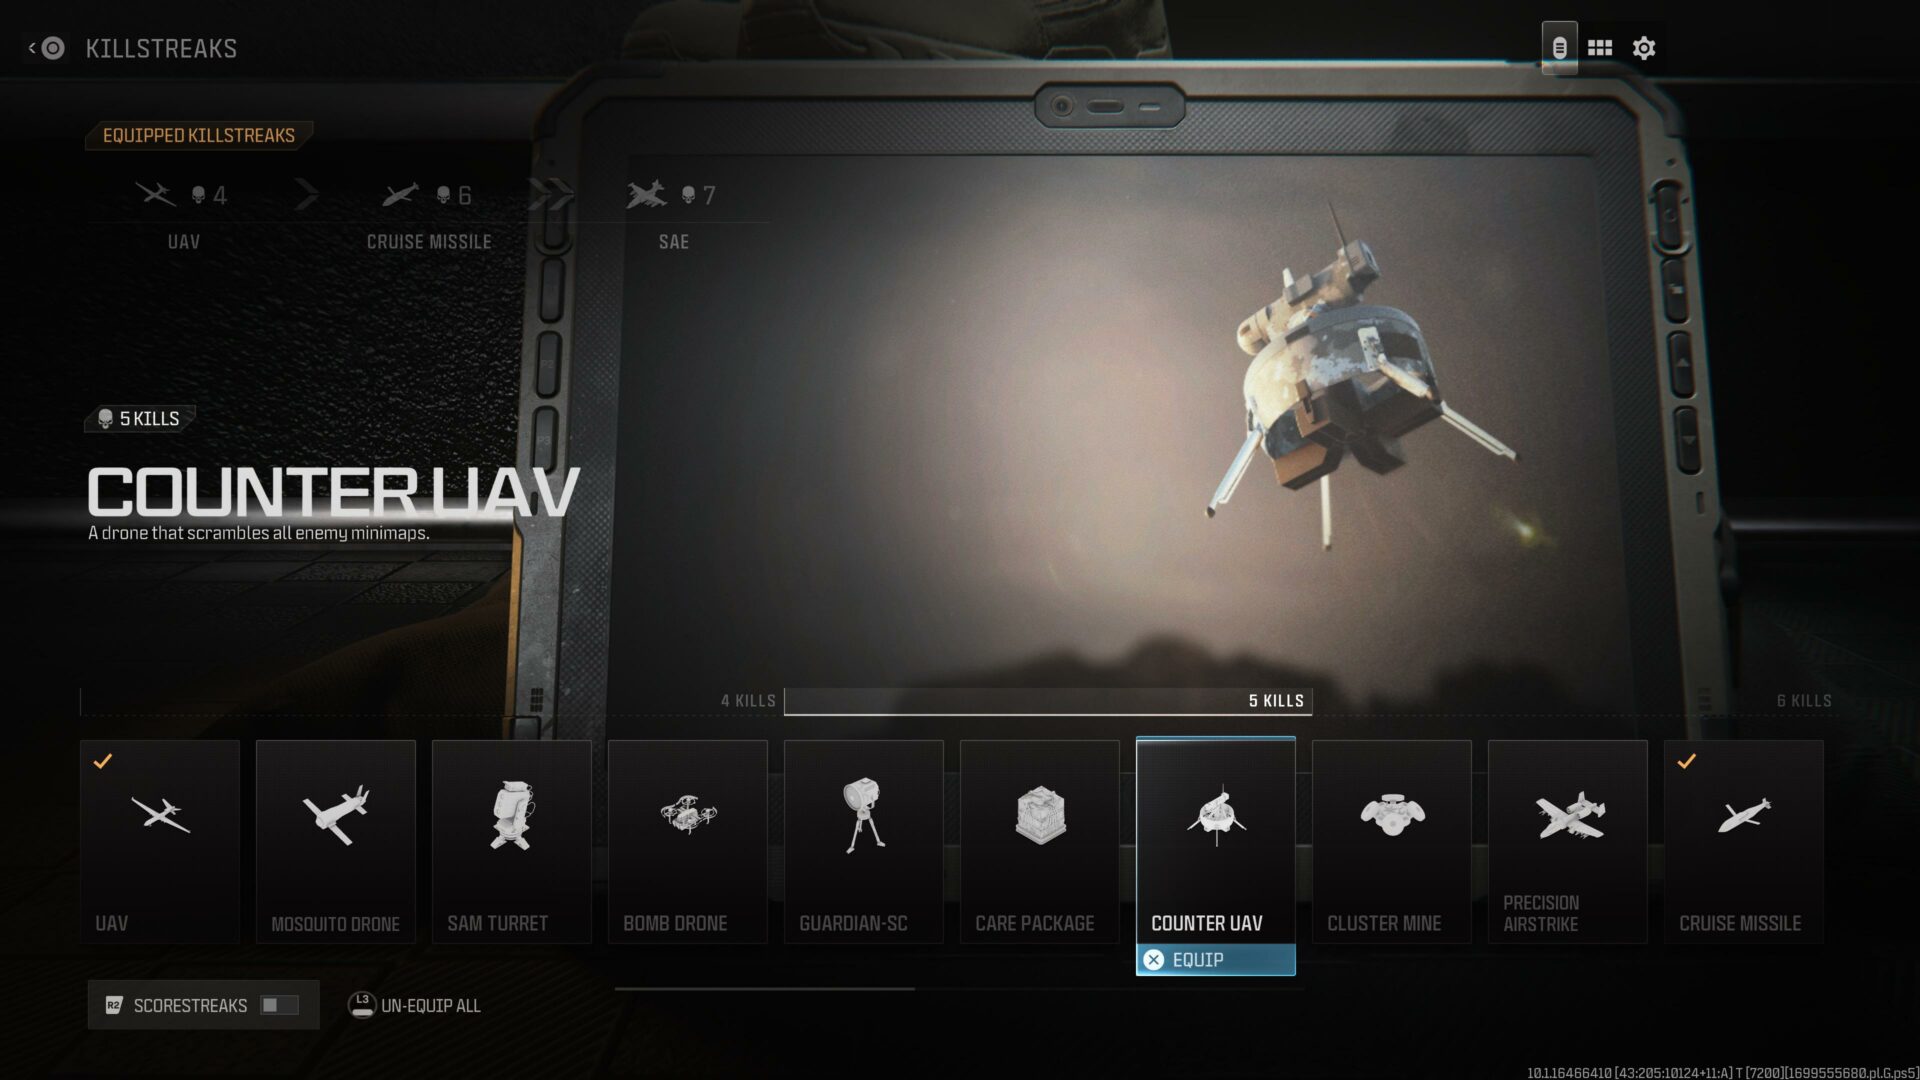
Counter UAV – 5 Killstreak
The Counter UAV scrambles all enemy minimaps and UAV coverage for 30 seconds. Despite being visable and vulnerable to enemies, it is the perfect deterrent against the enemy spamming UAVs. Additionally, it helps to counter any players using equipment that may reveal your team’s locations on the minimap.
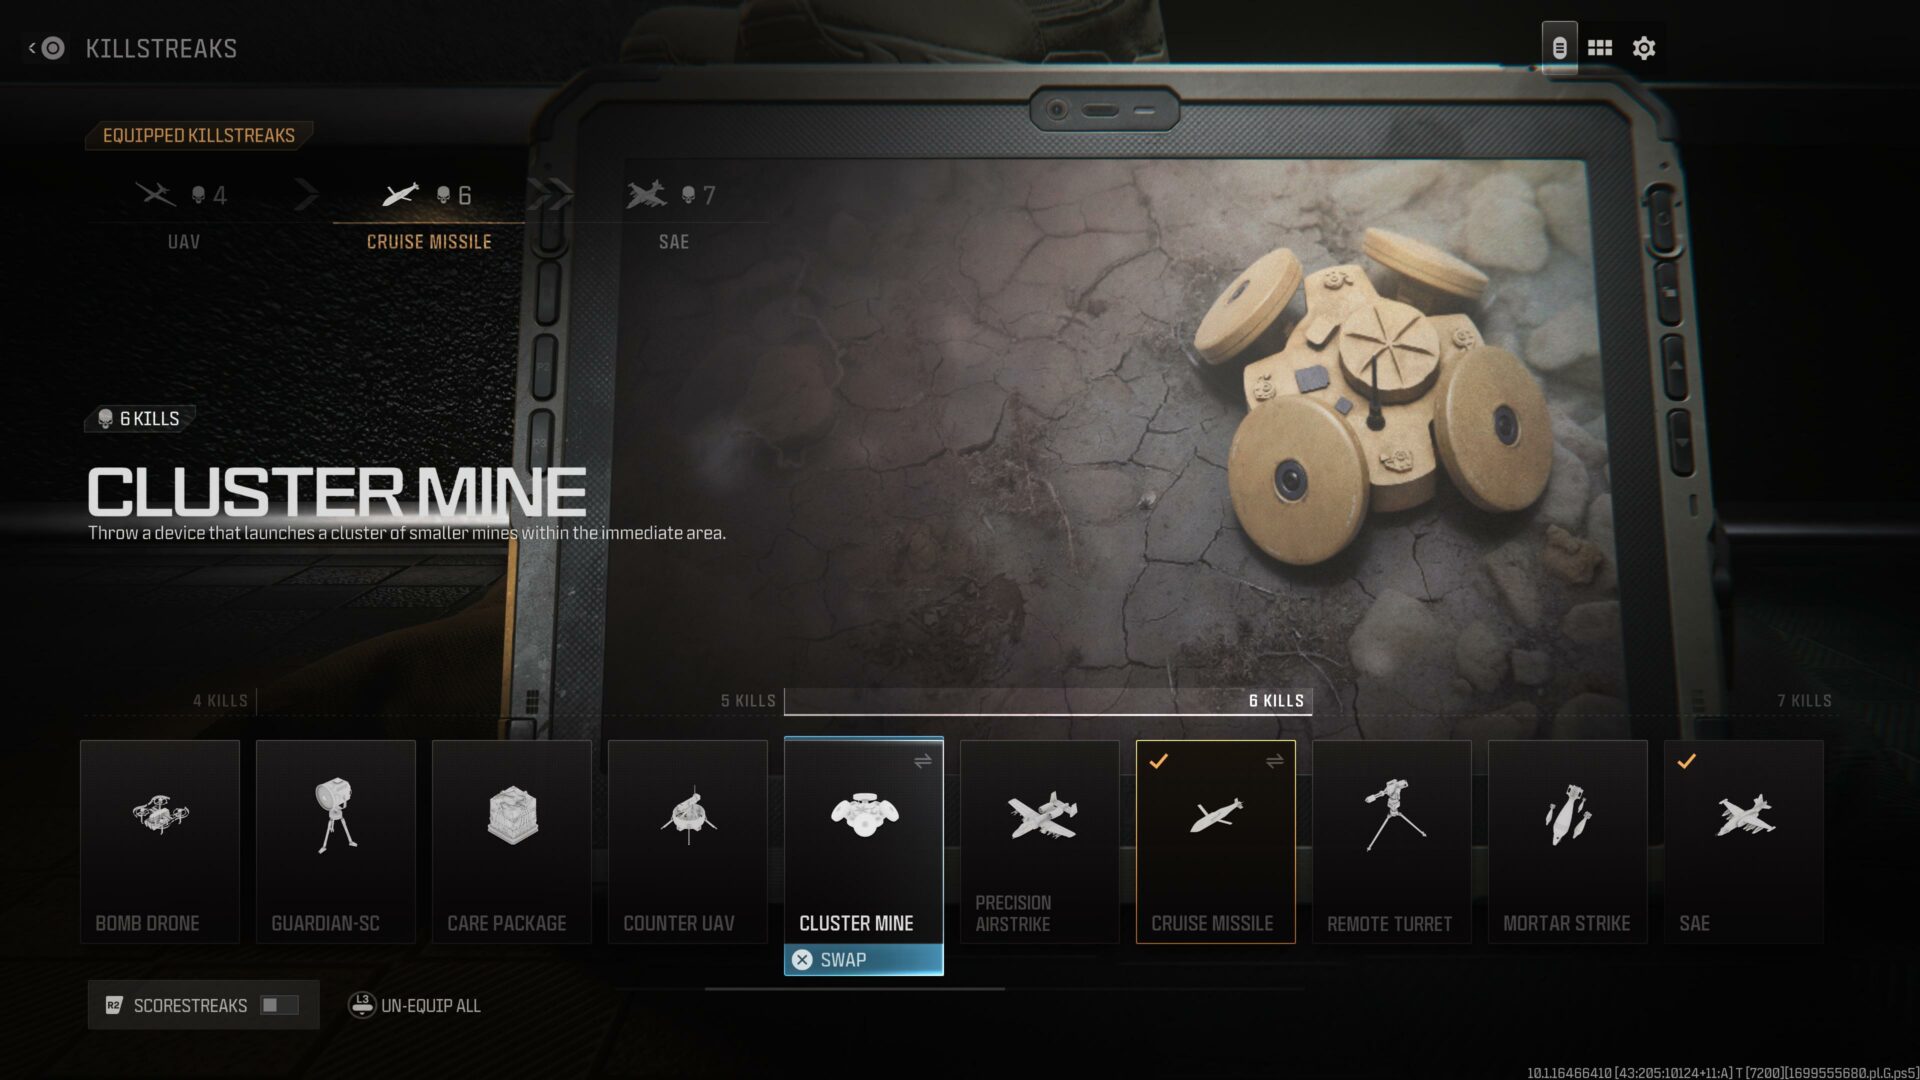
Cluster Mine – 6 Killstreak
The Cluster Mine is a piece of equipment that launches a group of small landmines in its area of effect. It is a must-use for any objective-based mode such as Domination, Hardpoint, or Search and Destroy. The cluster mines are hard to see and allow teams to hold a point, allowing enemy takedowns and keeping your points and team safe.
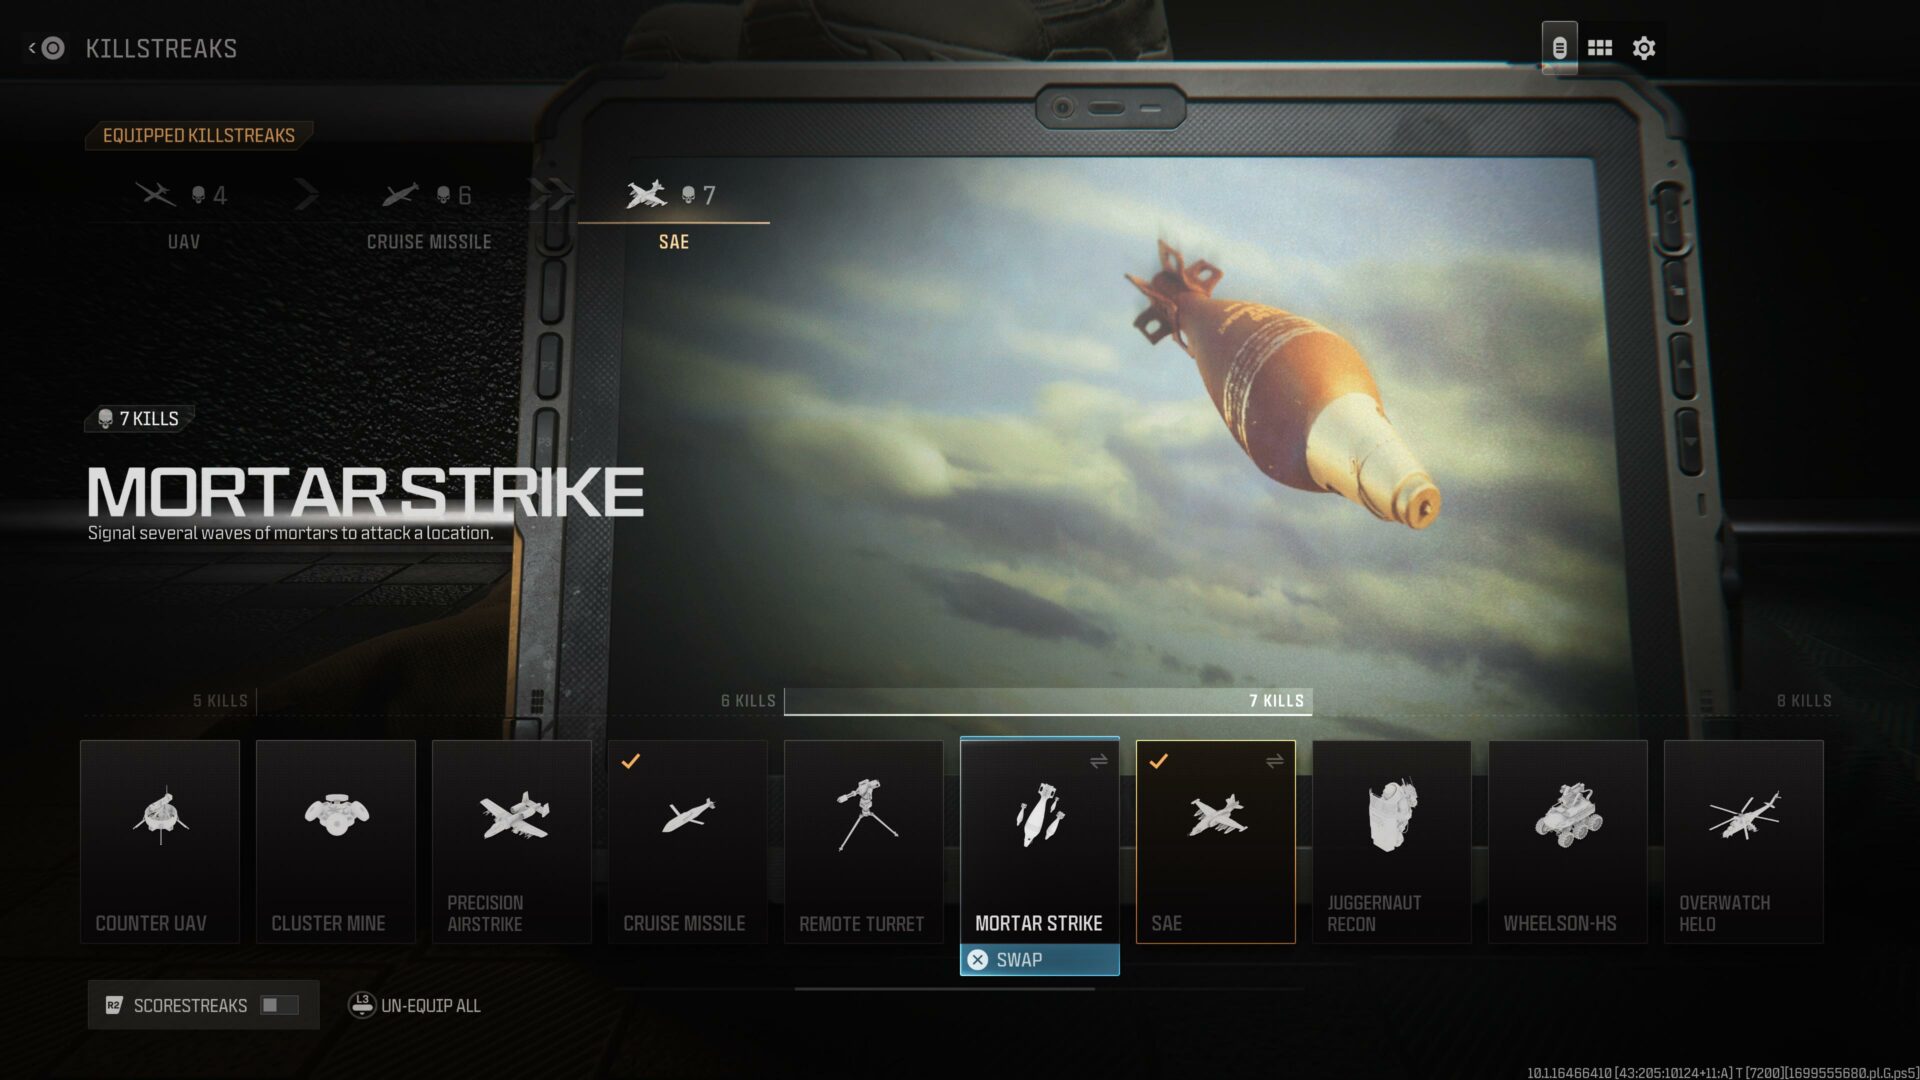
Mortar Strike – 7 Killstreak
The Mortar Strike delivers several waves of mortar attacks from above to the designated location. The killstreak is another good alternative to controlling a point in an objective-based mode. As there are many waves of mortars that drop, it works well to keep enemies off of the objective.
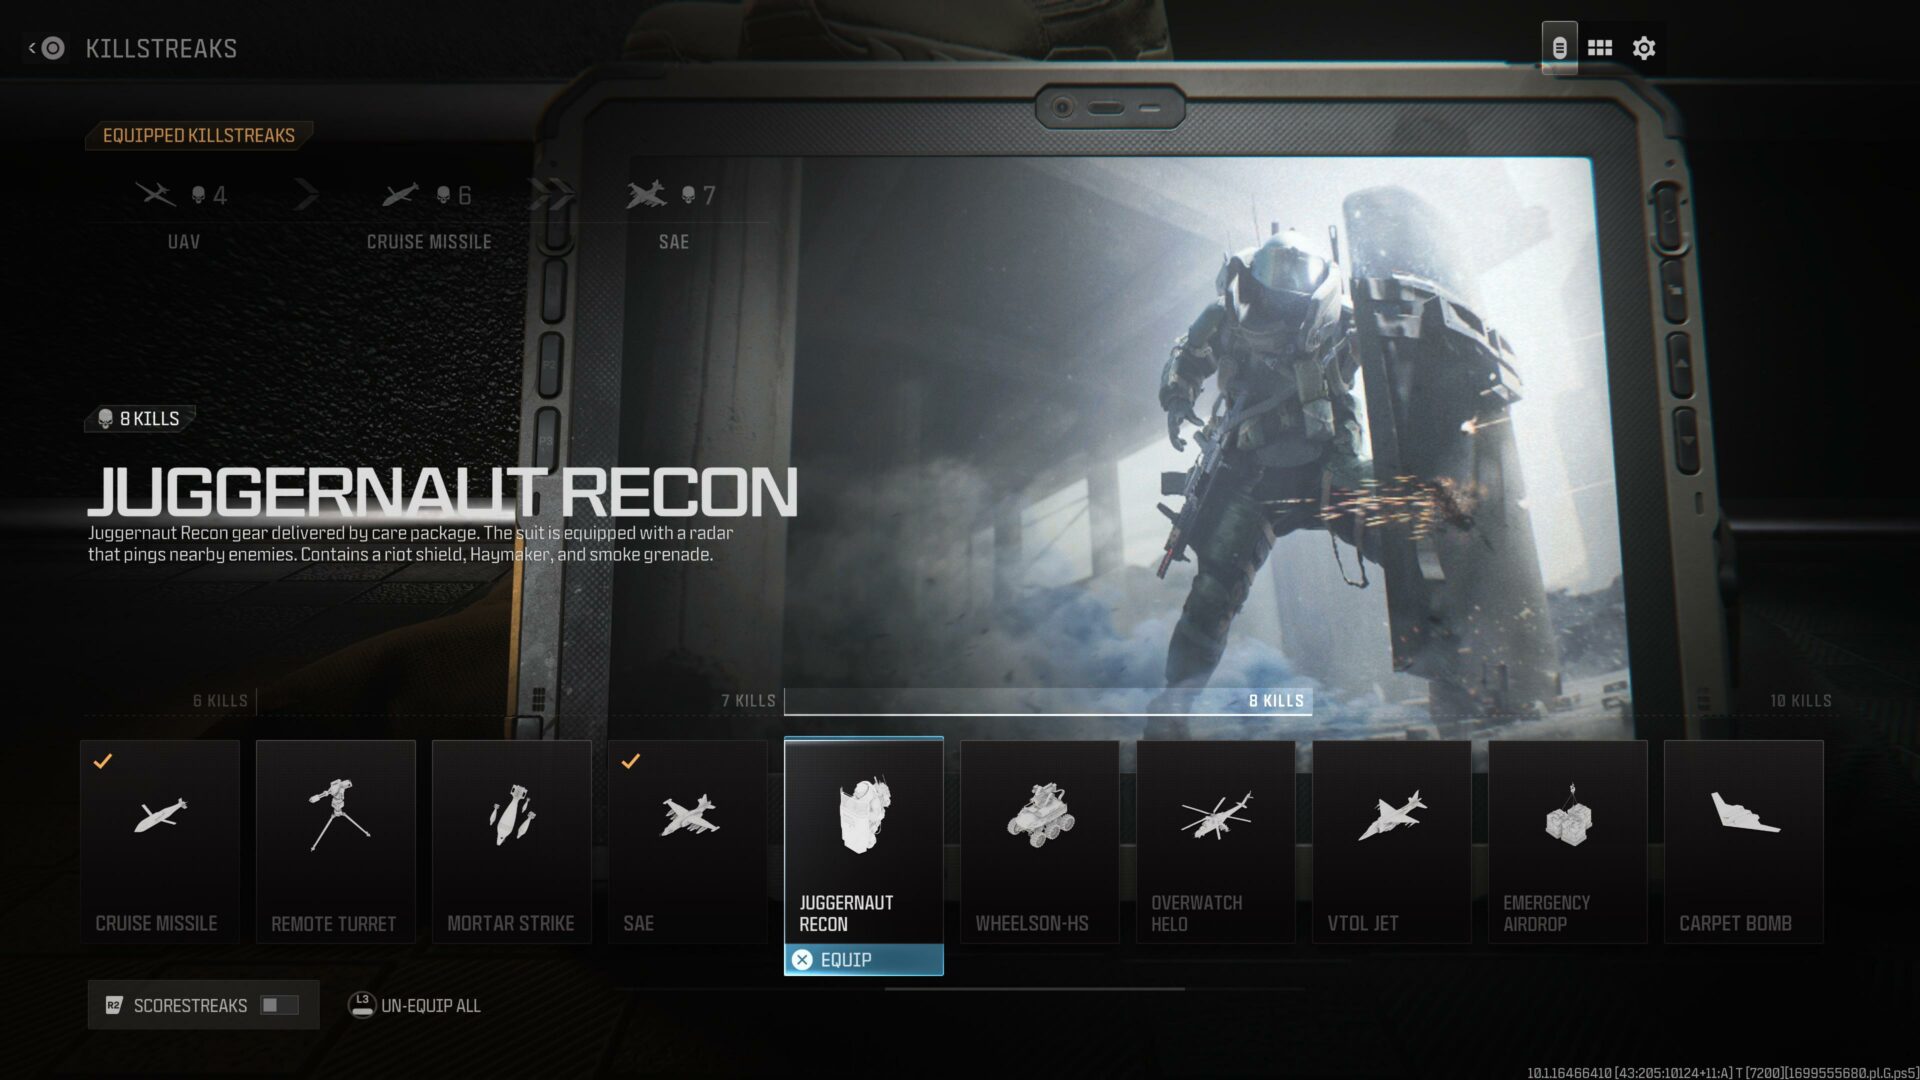
Juggernaut Recon – 8 Killstreak
The Juggernaut Recon killstreak is a Juggernaut suit equipped with a radar that reveals nearby enemies and has a loadout of a riot shield, Haymaker shotgun, and smoke grenades. The killstreak is new and a great option at eight kills as it comes with plenty of protection as well as great firepower.
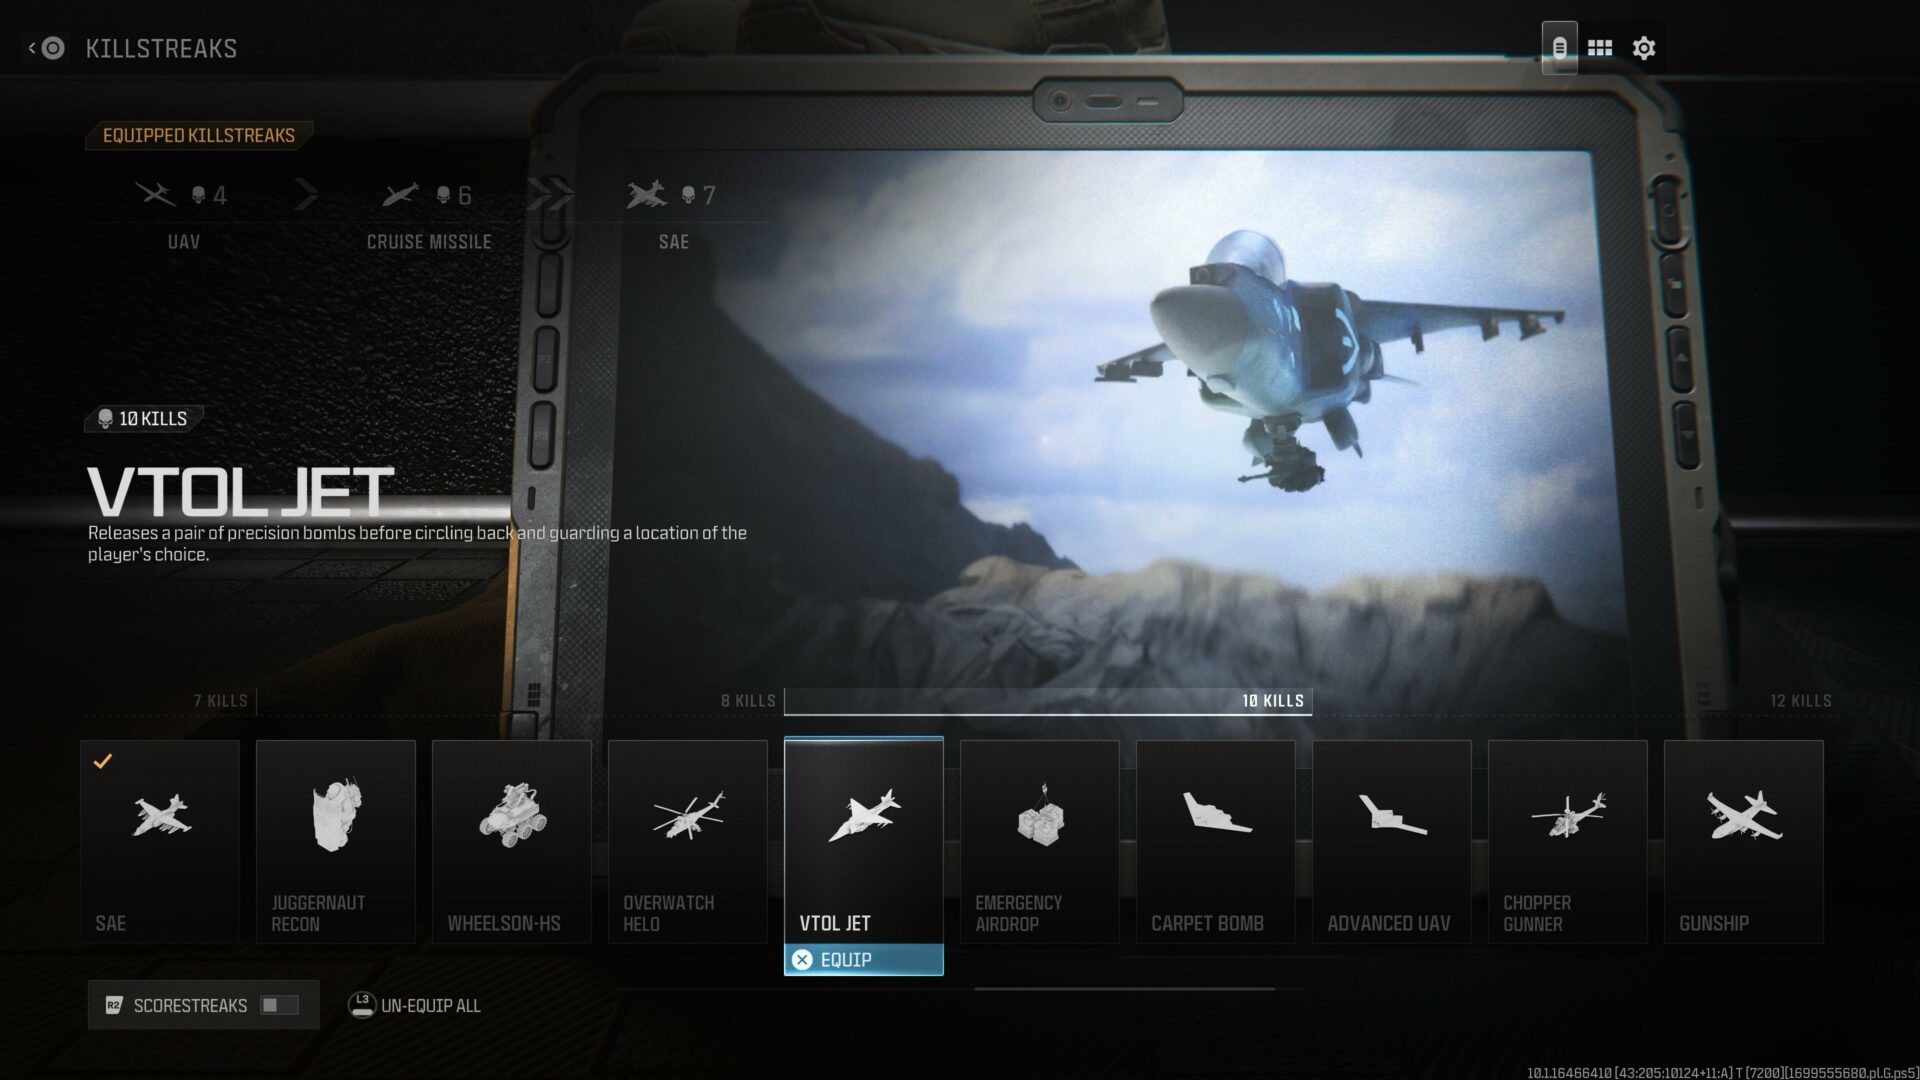
VTOL Jet – 10 Killstreak
The VTOL drops bombs into positions on the map before hovering over the player or area of their choice and defending it. The killstreak has a great range and works well in both racking up kills and defending positions on the map.
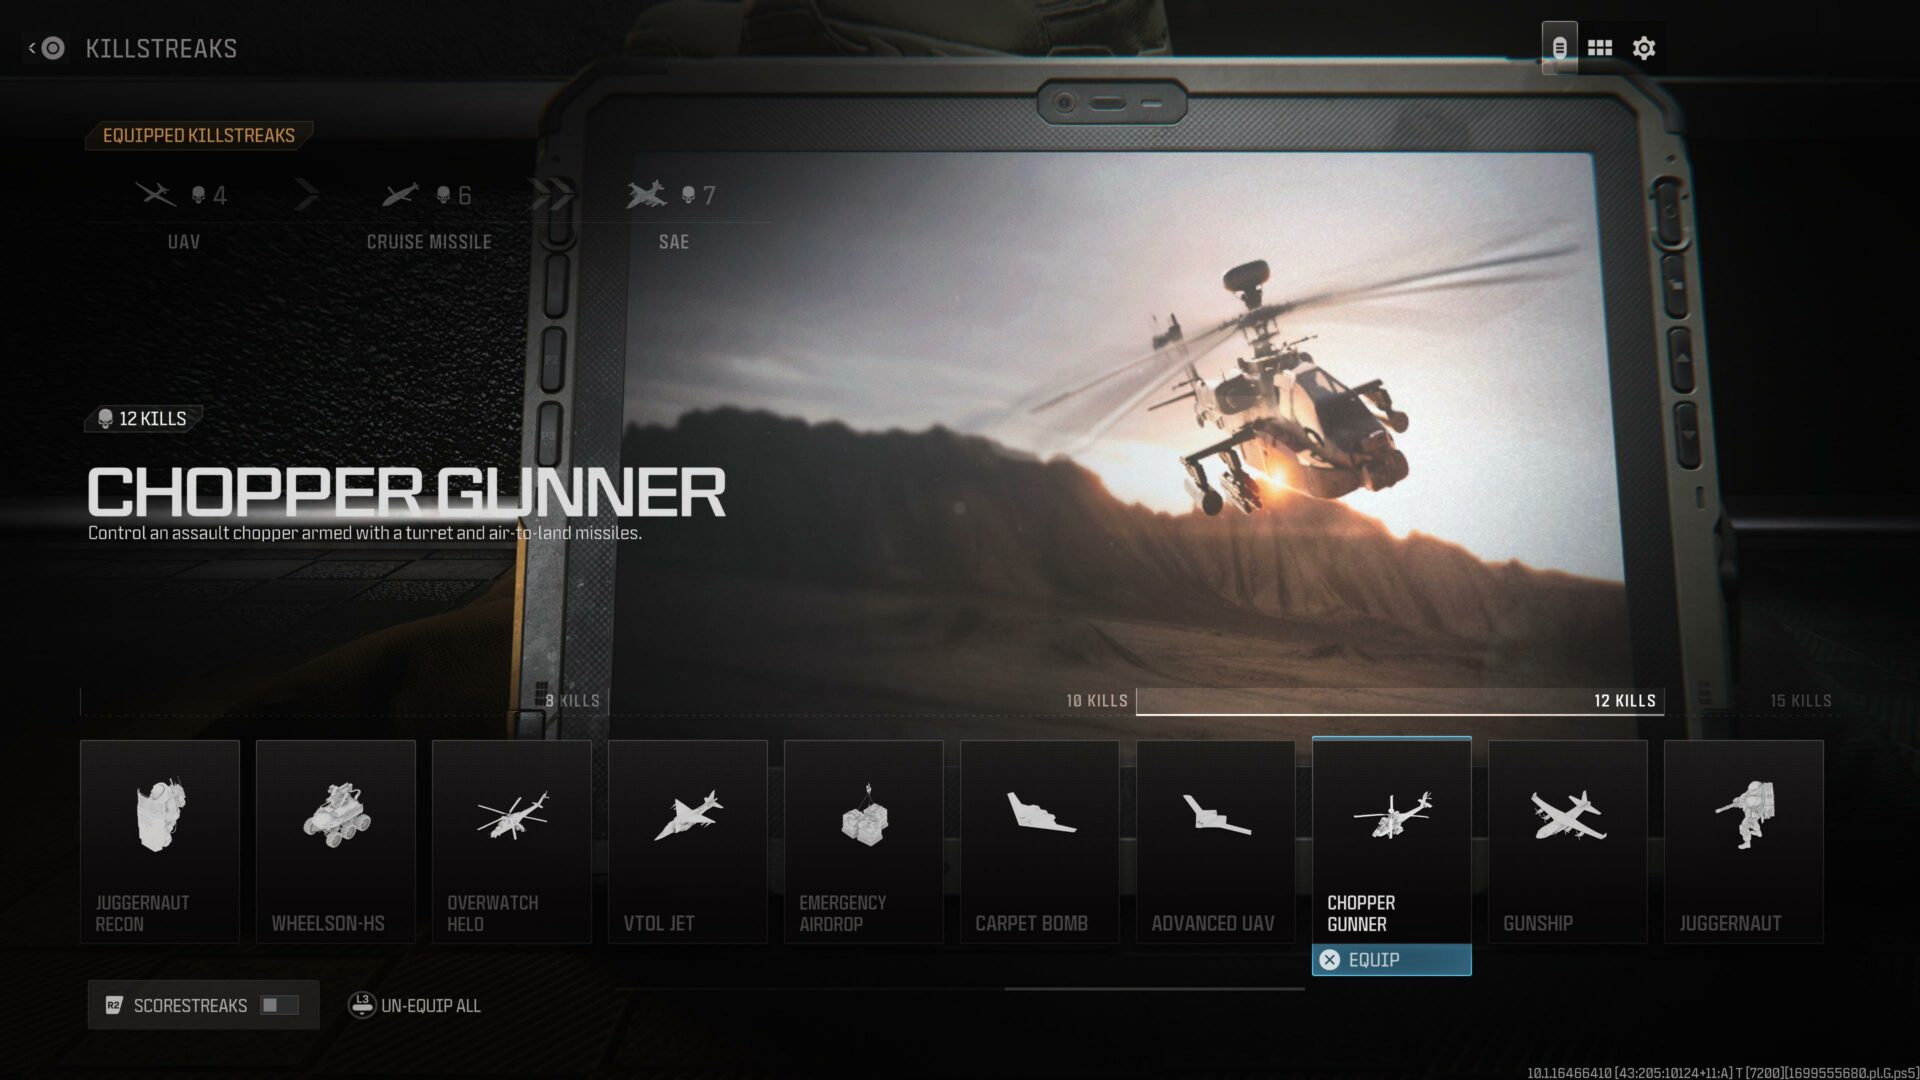
Chopper Gunner – 11 Killstreak
The Chopper Gunner is an attack chopper controlled by the player that fires explosive bullets and missiles. It is a fantastic option for the 11 killstreak choices and allows players to rack up the most kills. It works well in both kill and objective-based modes.
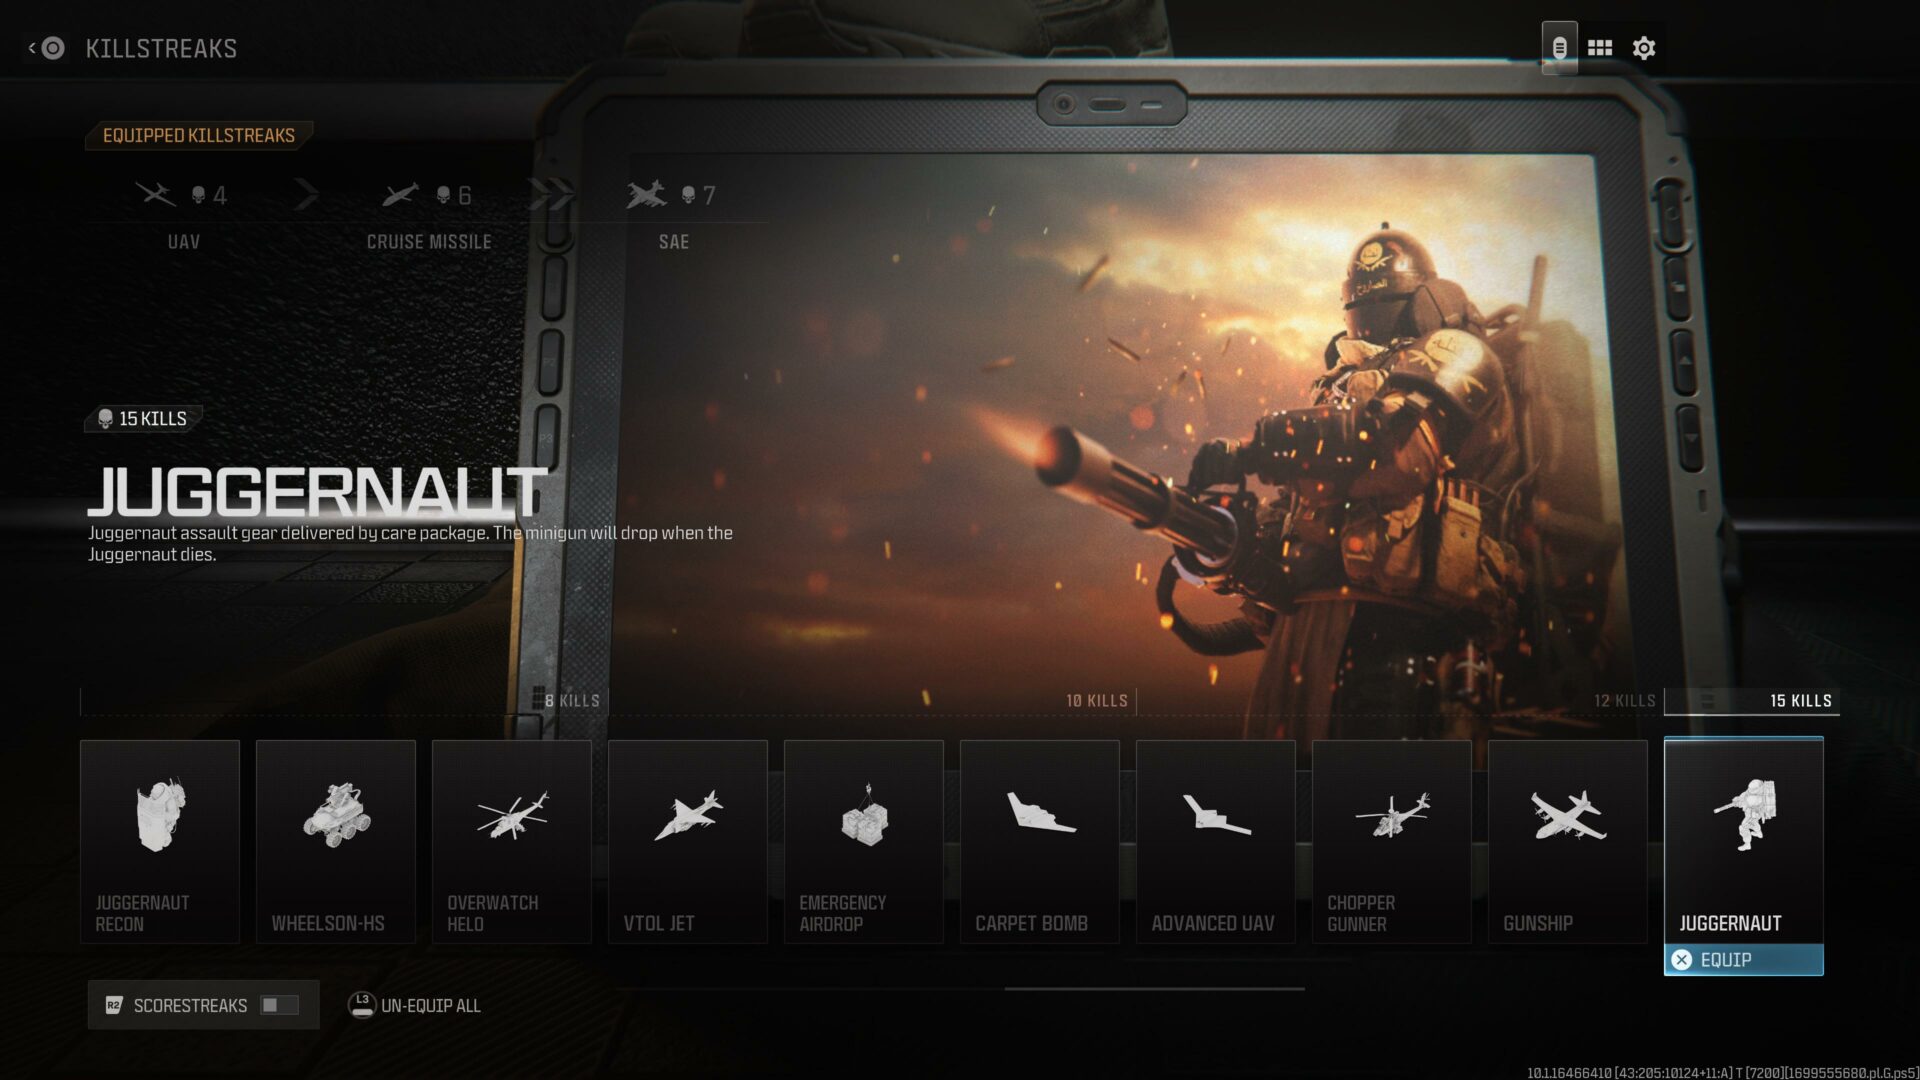
Juggernaut – 15 Killstreak
The Juggernaut gives players a heavily protected Juggernaut suit with a minigun. The killstreak is the much beefier version of its predecessor and allows players to not only take down the enemy team without mercy and efficiently but works well in any situation in multiplayer modes.

That is all the best Killstreaks players should use within Call of Duty: MW3. Anyone wanting more about the game can check out our Game Guide Hub here.