


“For all my life I have lived in shadow; the shadow of the city where I lie, cheat, and steal for scraps of bread. The shadow of my parents, once proud nobles, killed when I was but a child. The shadow of the empire, whose false light darkens the world around it. I now wear this cloak, black as the Tyrant-King’s heart, a symbol of how dark and broody and edgy I am,”
Or at least, that is how a good portion of rogue players sound in Table Top games. But, how to capture that on a miniature for Dungeons and Dragons? For starters, the first thing you might lean towards is black. My first bit of advice in that case? No. Stop. Black is not the answer you seek.
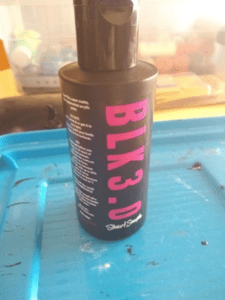
BLK 3.0
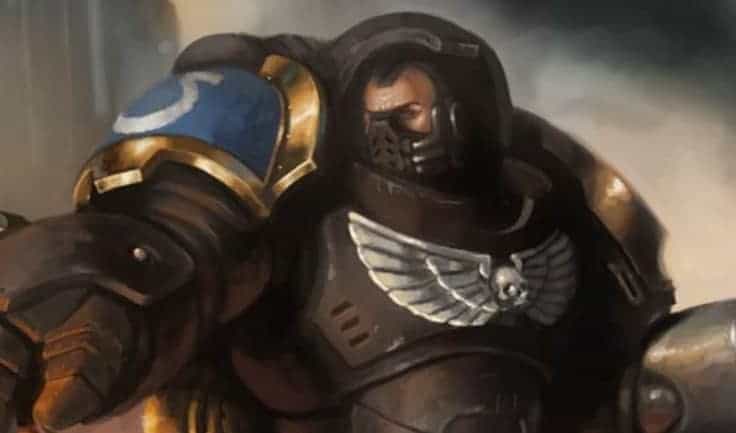
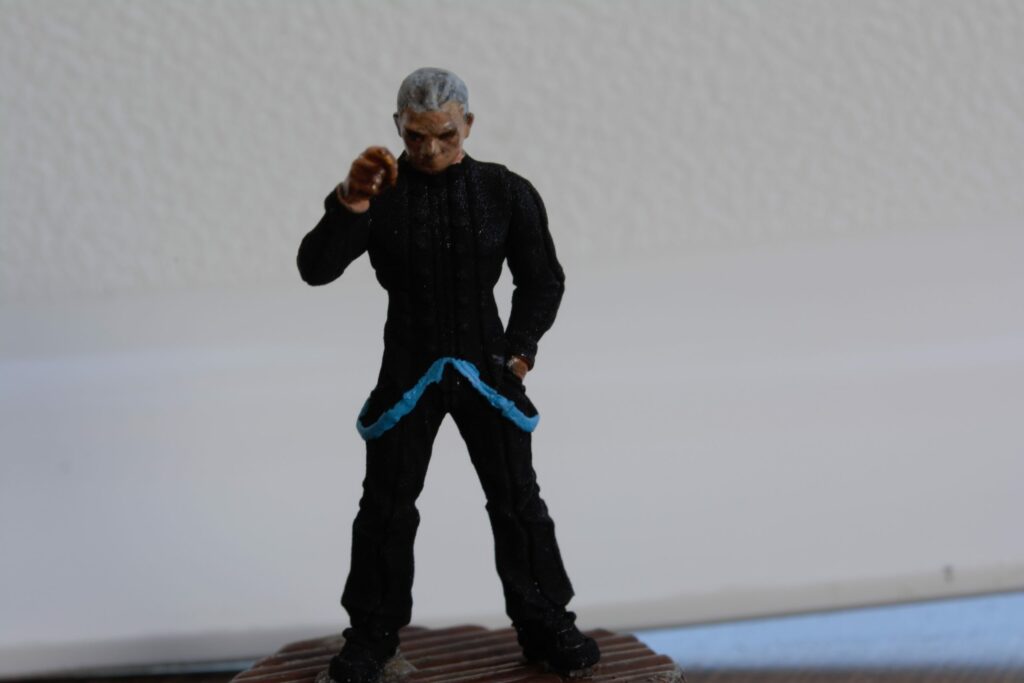
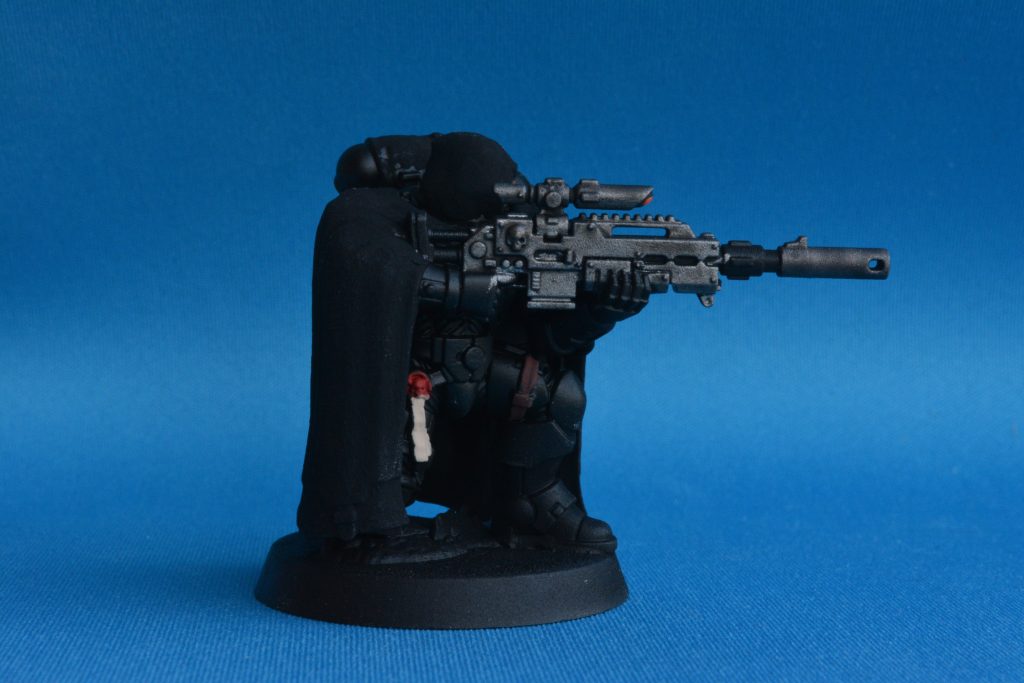
True black is rare and difficult; it is defined by the absence of light. There are situations where black is totally fine: Deathwatch Space Marines, full-on Death Knights, creatures you might find in The Void or a black hole. It’s up to you to decide when to break the rules. However, if your knight or rogue is going to wear a black cloak, I tend to mix in just a tiny amount of dark or true blue.
But if you need something to disappear, like a magic cape, or a science fiction camouflage? Well, that is where Black 3.0 comes in. This is not an endorsement, nor are we being paid to write about this paint. I got my hands on a bottle recently, and have a love-hate relationship with the stuff. It’s quite thick, like oatmeal compared to the cream-of-wheat of Citadel paints. However, the effect is amazing. If there are details you want to see on the model, Black 3.0 is not for you, as it absorbs most light.
So, if you do plan on using Black 3.0, here are a few tips.
1. Thin Your Paint
While I haven’t covered this, thinning your paint is always a good idea. When I put paint on my palate, I typically add a drop or two of water to help the paint flow and get a nice smooth finish. Yes, you may need more than one coat — looking at you, yellow — but you’ll get a nice, smooth coat of paint.
With Black 3.0, you’ll need to thin it down a ton more than you’re used to. You’ll also need to give it extra time to dry before going back for subsequent coats and be prepared to do four of five coats.
2. Do Not Use Matte, Wash, or Drybrush
You will ruin the effect. I did a test paint on a scrap of plastic and added Testors Matte Finish on it. It was no longer matte, dark, or void black. You can paint over Black 3.0 with no issue if you are picking out other details on a model, such as belts or clasps.
3. No Metal
I do not recommend using this on metal miniatures. I did one, and it didn’t turn out how I wanted it. Instead, it flakes off very easily as you can’t use any sealer on it.
4. 50/50 Mix
If you’re an airbrusher, the bottle suggests a 60/40 paint-to-water mix. However, I recommend a 50/50 or 40/60 mix to still get some detail.
So, hopefully, we learned how to use our black paints a little bit better. May you back-stab all your enemies!
The goal of this ongoing series is to improve all of our RPG and Table-Top gaming experiences with anything from miniatures to world-, dungeon-, and character-building toolkits. Alan has been DMing/GMing for over 10+ years and painting for 2 years. You can view all of the other articles here.