


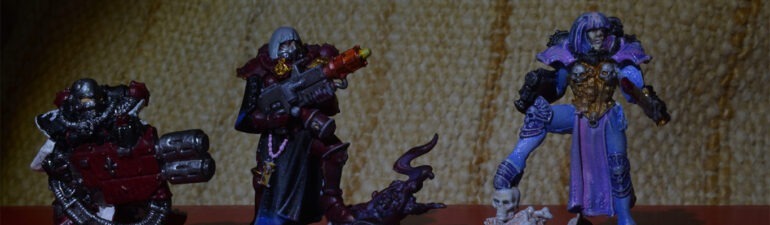
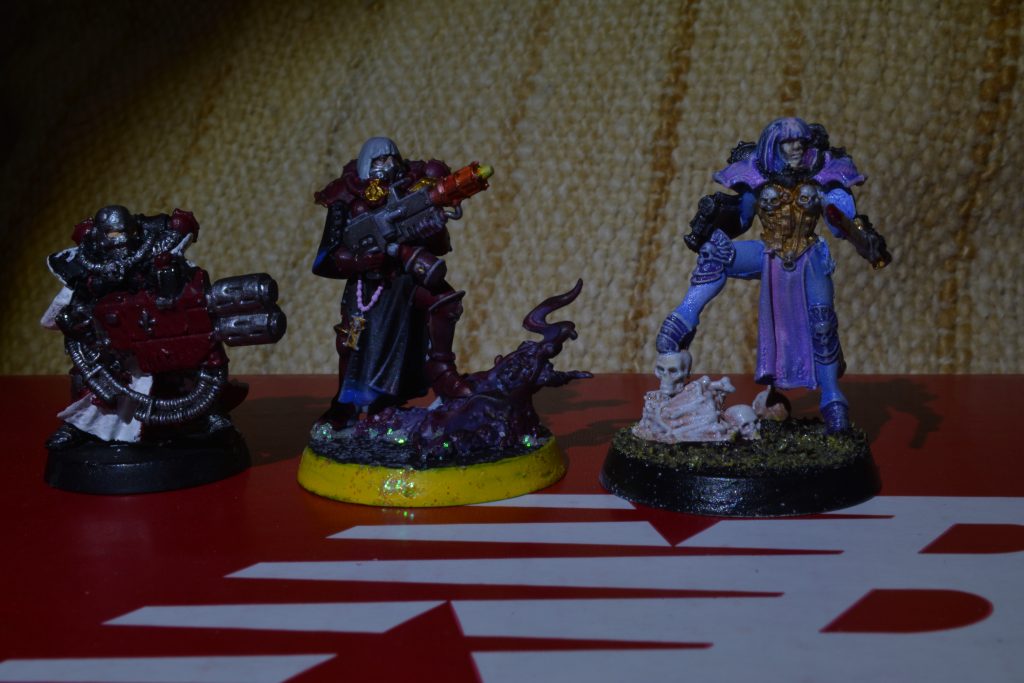
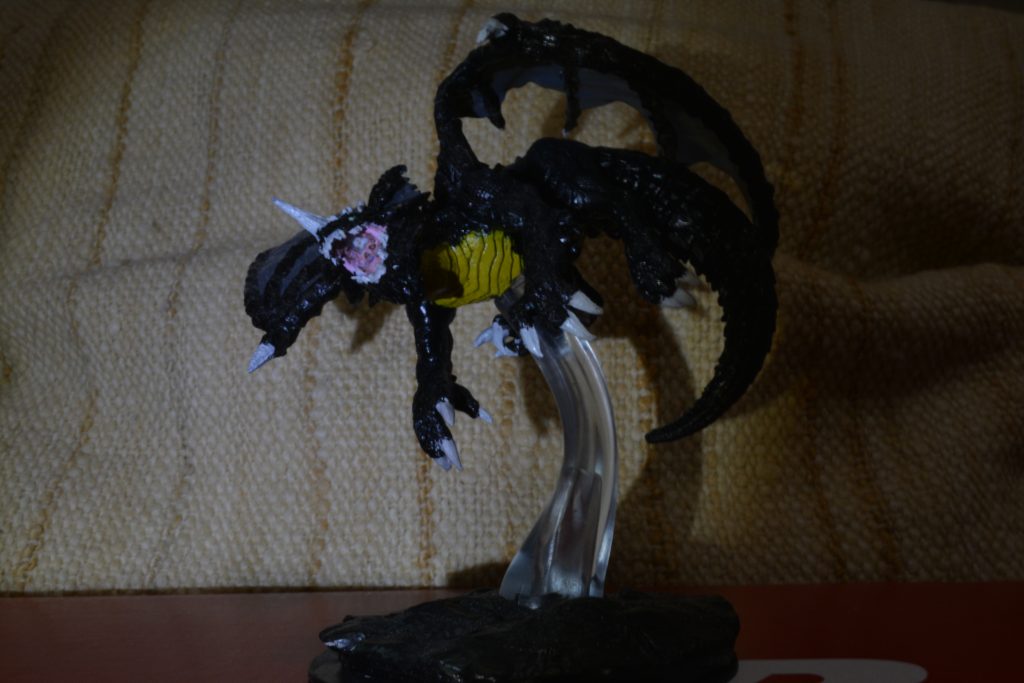
As we continue our discussions on beautifully painted miniatures, let’s talk about the types of miniatures that are available for purchase. There are a number of websites, companies and ways to obtain miniatures. Preferably with the exchange of the appropriate amount of local currency, like my group’s paladin would say, but they typically come in one of three materials. Today, we’re going to talk about how to prepare, store, and maintain these miniatures.
Let’s start with the original material, metal. Formerly in lead, but now mostly pewter, it is always recommended you clean your miniature first. I typically set mine overnight, un-assembled, in rubbing alcohol. Then use a toothbrush to clean off any corrosion that may have started to form on the surface. Once dry, spray with primer and begin painting. You’ll want to be careful about how you handle the miniature. Metal chips quite easily when using the recommended acrylic paints. So you’ll have to some repainting if you drop it. Once the paint has fully dried, you just have to seal it with any matt varnish to help prevent those pesky chips. Spray-on is preferred. For storage and transport, I use a foam-line case, and if you’re lucky and pick up old metal miniatures for a wargame, you’ll have the added bonus of having an army that also doubles as a workout! With metal, you don’t have to worry as much about breakage, except at glue joints. And if something bends, its easy enough to bend back.
Over time and we’re talking 30 or more years, you may have to worry about metal rot, but if you cleaned and primed your mini with a non-acidic primer, you’ll be fine. Primers and paints back in the ye olden tymes were vinegar-based. With the recommendation to clean them in vinegar. Don’t do this.
The next type of mini is the resin miniature. Again, you’ll want to clean the resin before painting. This time, put them in water mixed with a bit of dish soap; here you’re looking to remove the releasing agent from the resin. Over time, it can bubble up and cause your paint to flake off. Let it sit in the soapy water for a few hours or overnight and brush it off with a toothbrush. As always, prime and paint. With resin, it’s important to thin your paints as the resin does have a coarse texture that might not allow thick paint to flow properly. Resin doesn’t need to be sealed like metal does, but it doesn’t hurt. You can use anything you’d want to transport a resin miniature, but foam-lined is always best. If you live somewhere hot, I wouldn’t recommend leaving the resin in your car as it does have a low melting point and may start to bubble.
And lastly, plastic. Plastic comes in two types, soft plastic for most DnD/Pathfinder Battles, Reaper Bones and almost every 3d print site. Or a stiff plastic from Game’s Workshop miniatures. With plastic, stiff or soft, you don’t need to clean them before priming. You also don’t have to worry about chips that much. I’ve not had a soft plastic mini-break but the stiff plastic ones have weak points around swords, or plumes or anything that sticks out. That being said, stiff plastic has a much greater amount of detail. I transport mine in foam, plastic and even paper-towel-lined boxes. Once sealed, of course. With the stiff plastic, you don’t have to worry about warping. Even in the summer heat. Except with soft plastic, they will warp and collapse if left in direct sunlight.
The goal of this on-going series is to improve all of our RPG and Table-Top gaming experiences with anything from miniatures to world-, dungeon-, and character-building toolkits. Alan has been DMing/GMing for over 10+ years, and painting for 2 years.